As most homeowners know, making improvements to their home will increase the entire value of their property, and the same applies to renovating the basement. But, the renovations will take a lot of time, and if not organized properly, it’s possible that homeowners might come across some issues in the future, most of which are quite expensive to eliminate.
If you’re planning on remodeling your basement during this summer, the most important thing that you could ensure is to organize the renovations in the right order. Below is our useful guide that you can follow in order to guarantee that you’re doing everything in the right way:
Step 1: Check If You Need a Permit
Before you can do anything else from this list, you need to check whether or not you’ll need a permit. If you’re planning on making some changes to the structure or electrical work in your cellar, you’ll probably require a permit. By doing so, you can ensure that you’re protected from any changes in the building codes, but more importantly, you can prevent any problems if you’re planning on selling your house in the future. You can apply for it through your local government.
Step 2: Remove Everything

It’ll take some time to get approved for the permit, so while you’re waiting, you should remove everything from the basement. Most of us use these areas as a storage unit – especially if it’s not finished – which means that we usually have a lot of things in them. This is also a good time to get rid of all the things that you no longer need, and don’t forget, you should label each of the boxes that you’ll keep. By doing so, you can keep your basement organized later on.
Step 3: A DIY Project? Read Some Tips
DIY projects are becoming increasingly popular, hence, if you’re planning on doing everything by yourself, you should ensure that you watch some tutorial videos and read some tips & tricks such as the ones featured on Your Way Contractors. By doing so, you can ensure that you’re doing everything in the right way, but more importantly, it will make the entire remodeling process easier and much simpler for you.
Step 4: Check if There Are Leaks

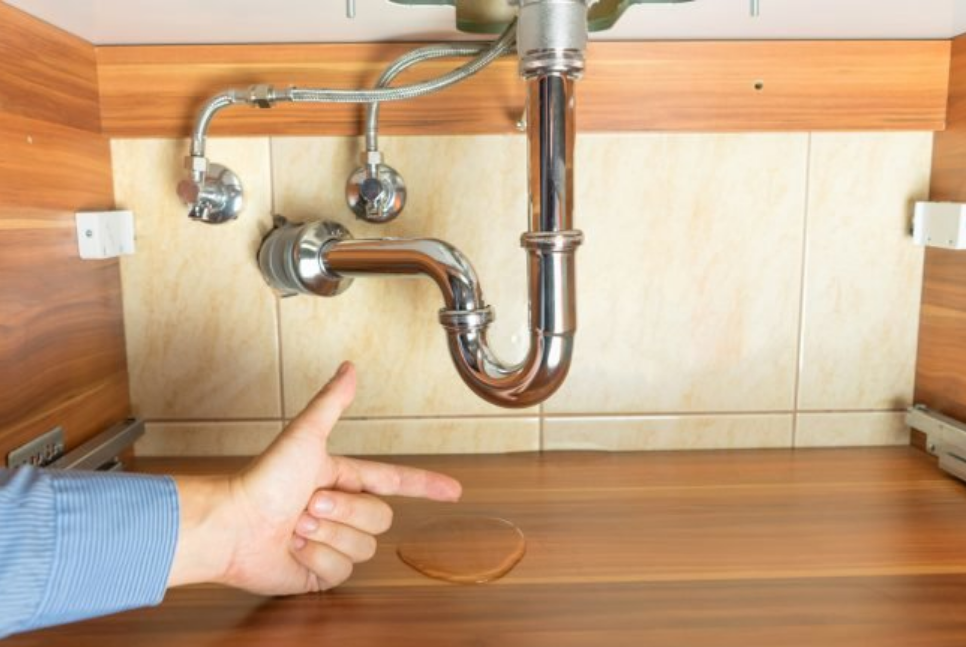
Like our attics, moisture loves our basements as well, hence, you must check if there are any leaks. If you don’t do this, it’ll cause a wide range of problems that will be expensive to eliminate in the future and they’ll also destroy all the work you’ve done. There are kits that could help you do this, however, if you aren’t confident in your skills, you could always hire a plumber that’ll help. If there is moisture, make sure that you take care of it before moving to the next task.
Step 5: Gather The Materials & Tools
Your basement might be unfinished, and if so, you’ll need to purchase drywall, flooring, paint, and insulation. On the other hand, if it’s finished, then you’ll probably need paint, as well as the materials such as flooring that you want to replace. Additionally, you’ll probably need a wide range of tools and safety equipment – such as gloves, protective glasses, and a mask – so, ensure that you have everything that you need. Keep in mind, you can rent some large tools instead of purchasing them.
Step 6: Check The Electrical System

Before you start painting or installing the insulation and drywall, you must check your electrical system, especially the wiring. Now, unless you’re an electrician or if you have a lot of experience with electrical systems, this is something that might require you to hire a professional. This is especially true if you’re planning on installing more outlets or lights in your basement. Working with an expert will also help you prevent any major issues that could impact the whole electrical system in your home.
Step 7: Work on The Walls
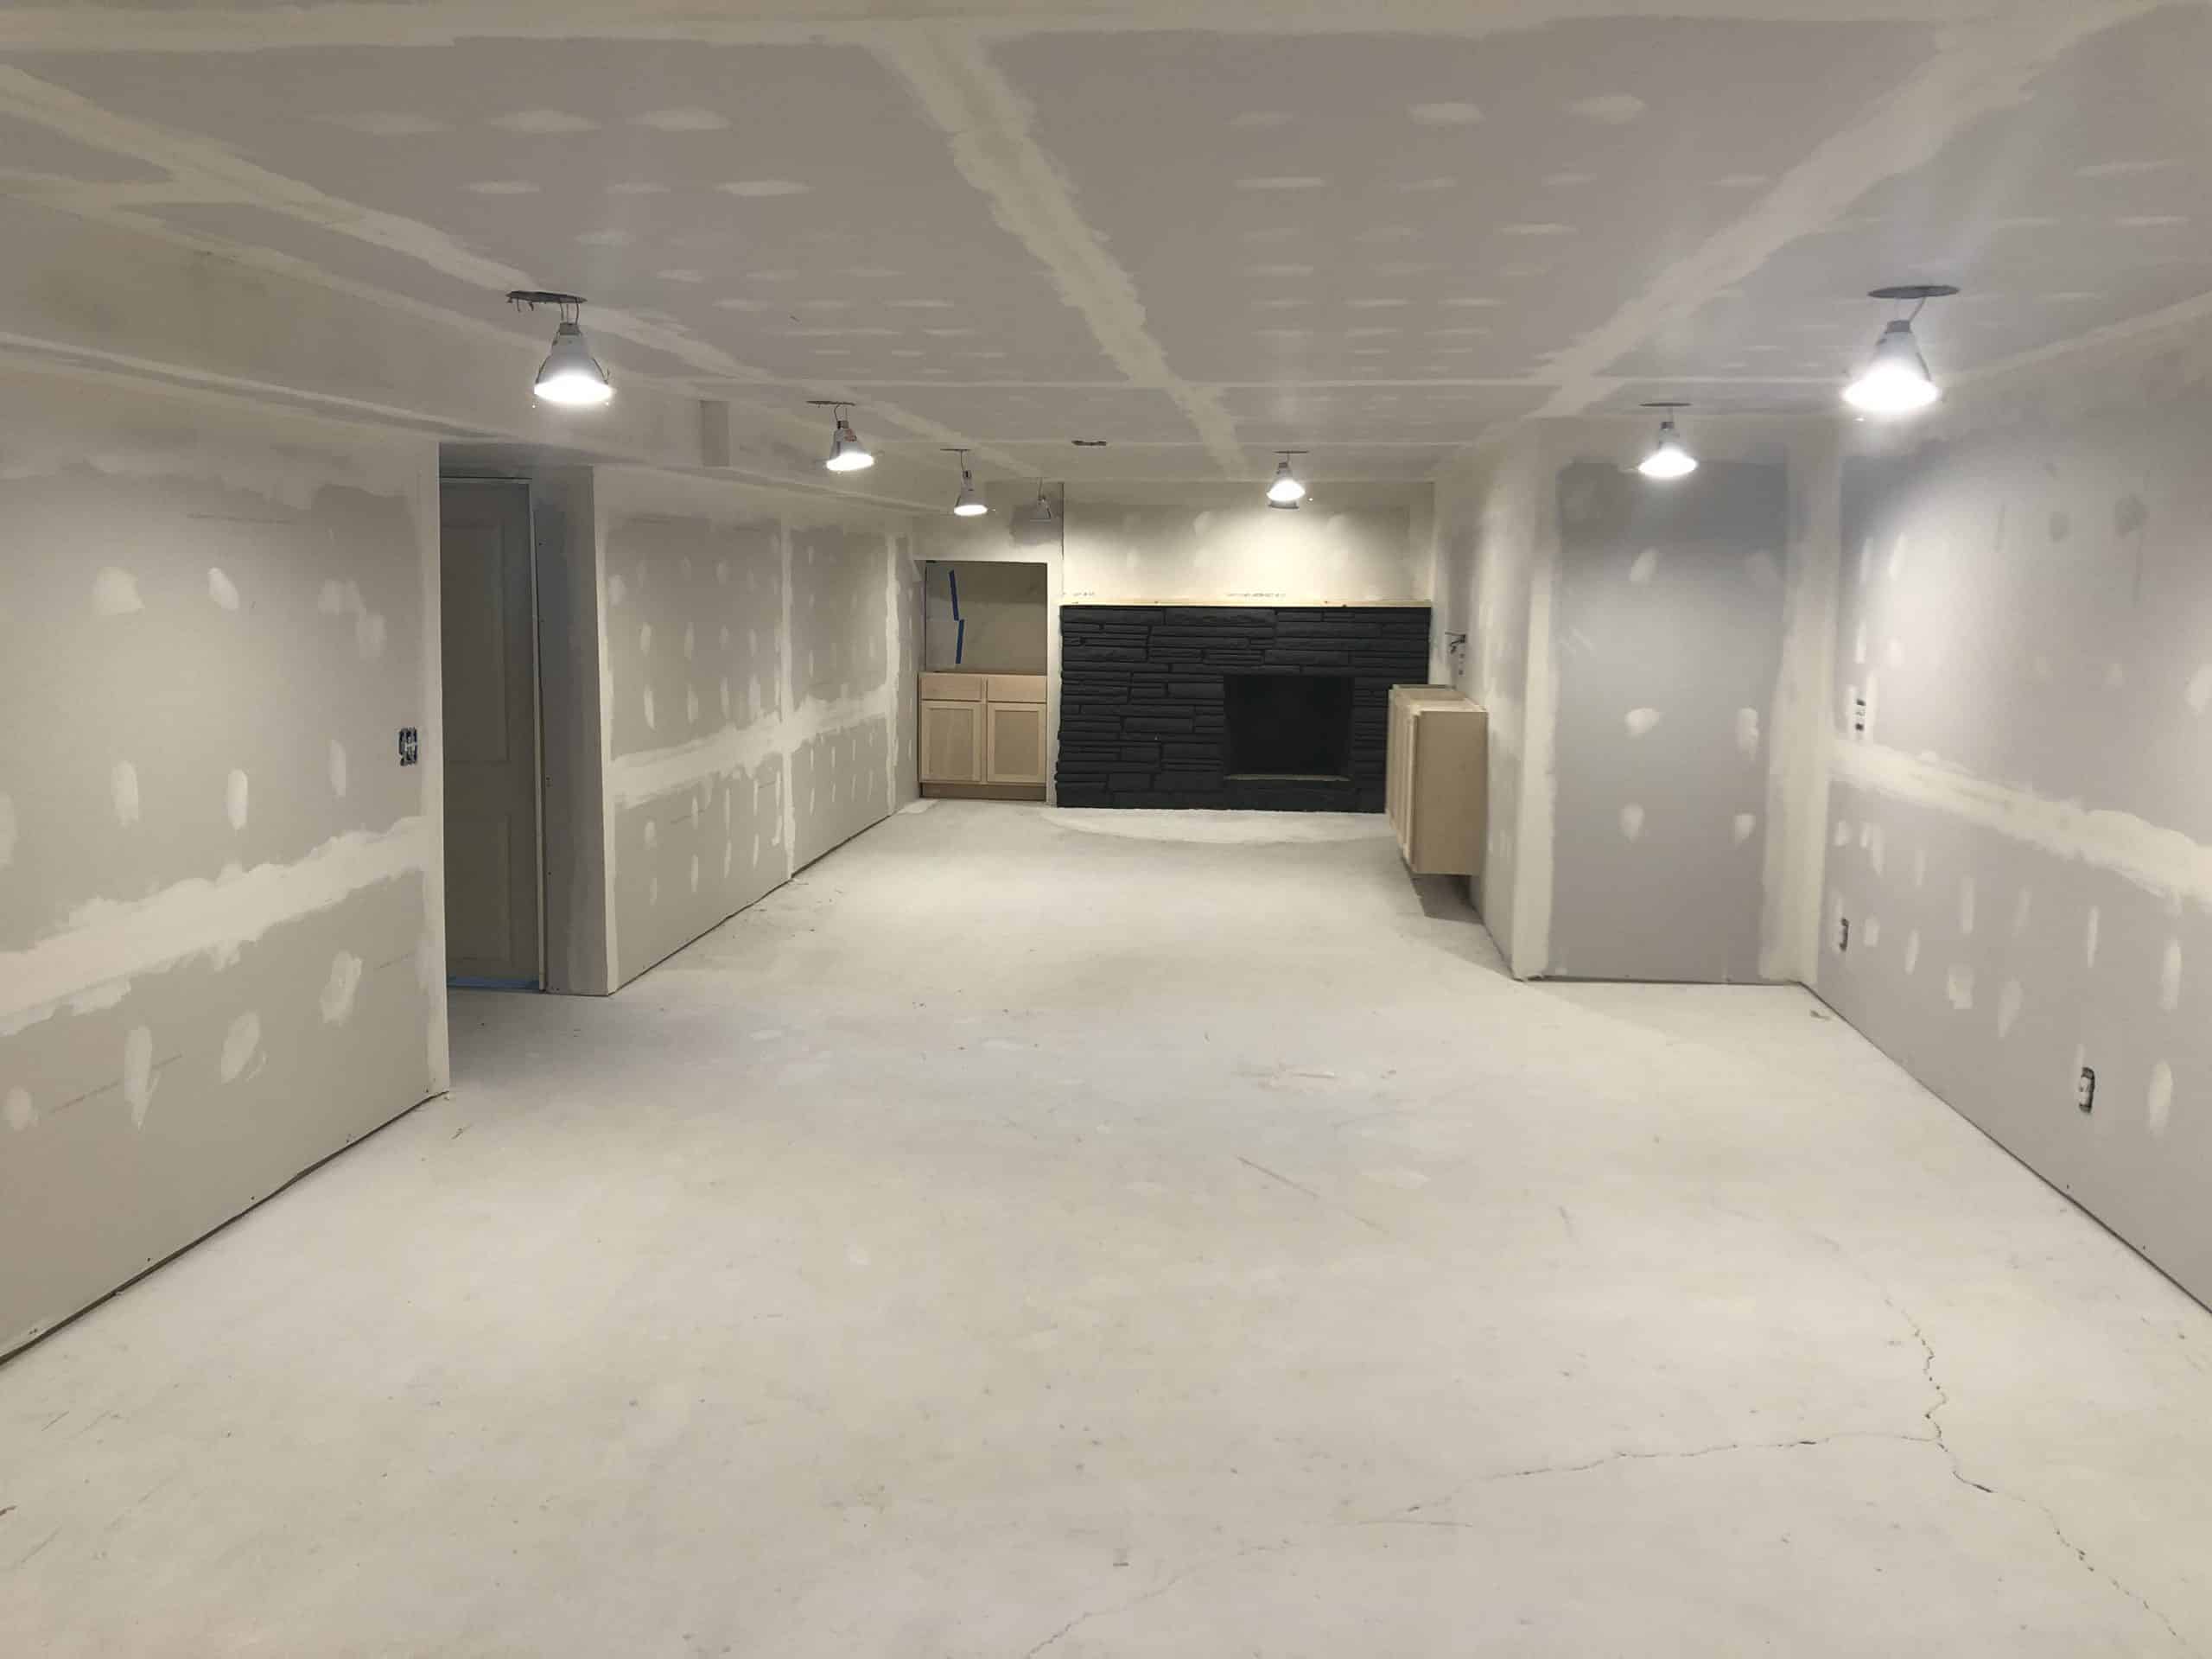
If your basement isn’t finished, it most likely has concrete walls. If so, you’ll have to add the insulation, frames, and lastly, the drywall. When it comes to the drywall, ensure that you cut holes for all the outlets coming out from the walls. On the other hand, if the walls in your basement are already finished, all you’ll need to do is patch any holes that are in them, and paint them with the color of your choosing.
Step 8: Work on The Floors

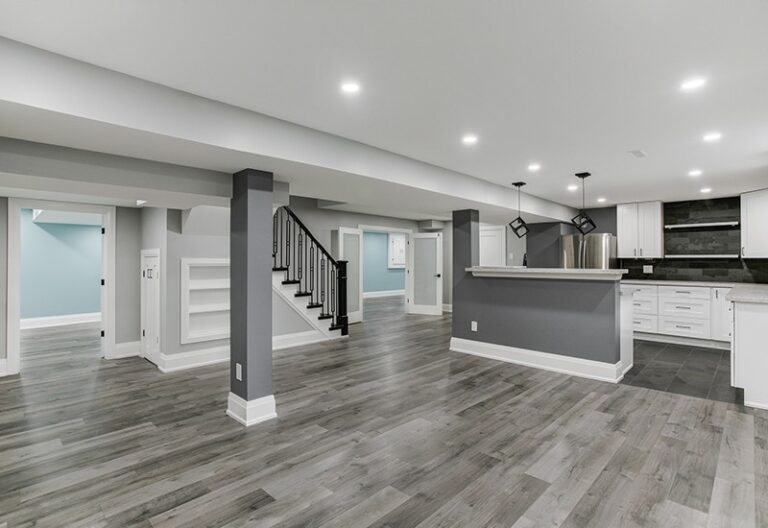
Once you’re done with the walls, you can start working on the floors. If you want to replace the existing flooring, you should make sure that you opt for an option that’ll suit the space in terms of how you’ll use it and how you want it to look. Choosing a carpet is possible, but it’ll require a lot of maintenance. Wood isn’t suitable as well because of the moisture, which is why you might want to choose laminate or vinyl – two materials that cannot be damaged by moisture.
Step 9: Work on The Ceiling
A lot of homeowners actually overlook the fact that they should also work on their ceilings. In most cases, they simply leave it open or spray some paint on it. But, there are so many things that you could do. For starters, you can install a drop ceiling where you can place different items, or you can even drywall it if you want it to have a smooth look. Keep in mind, if you’re going to place drywall over it, you’ll need some help since you’ll be installing it vertically.
Step 10: Finishing Touches

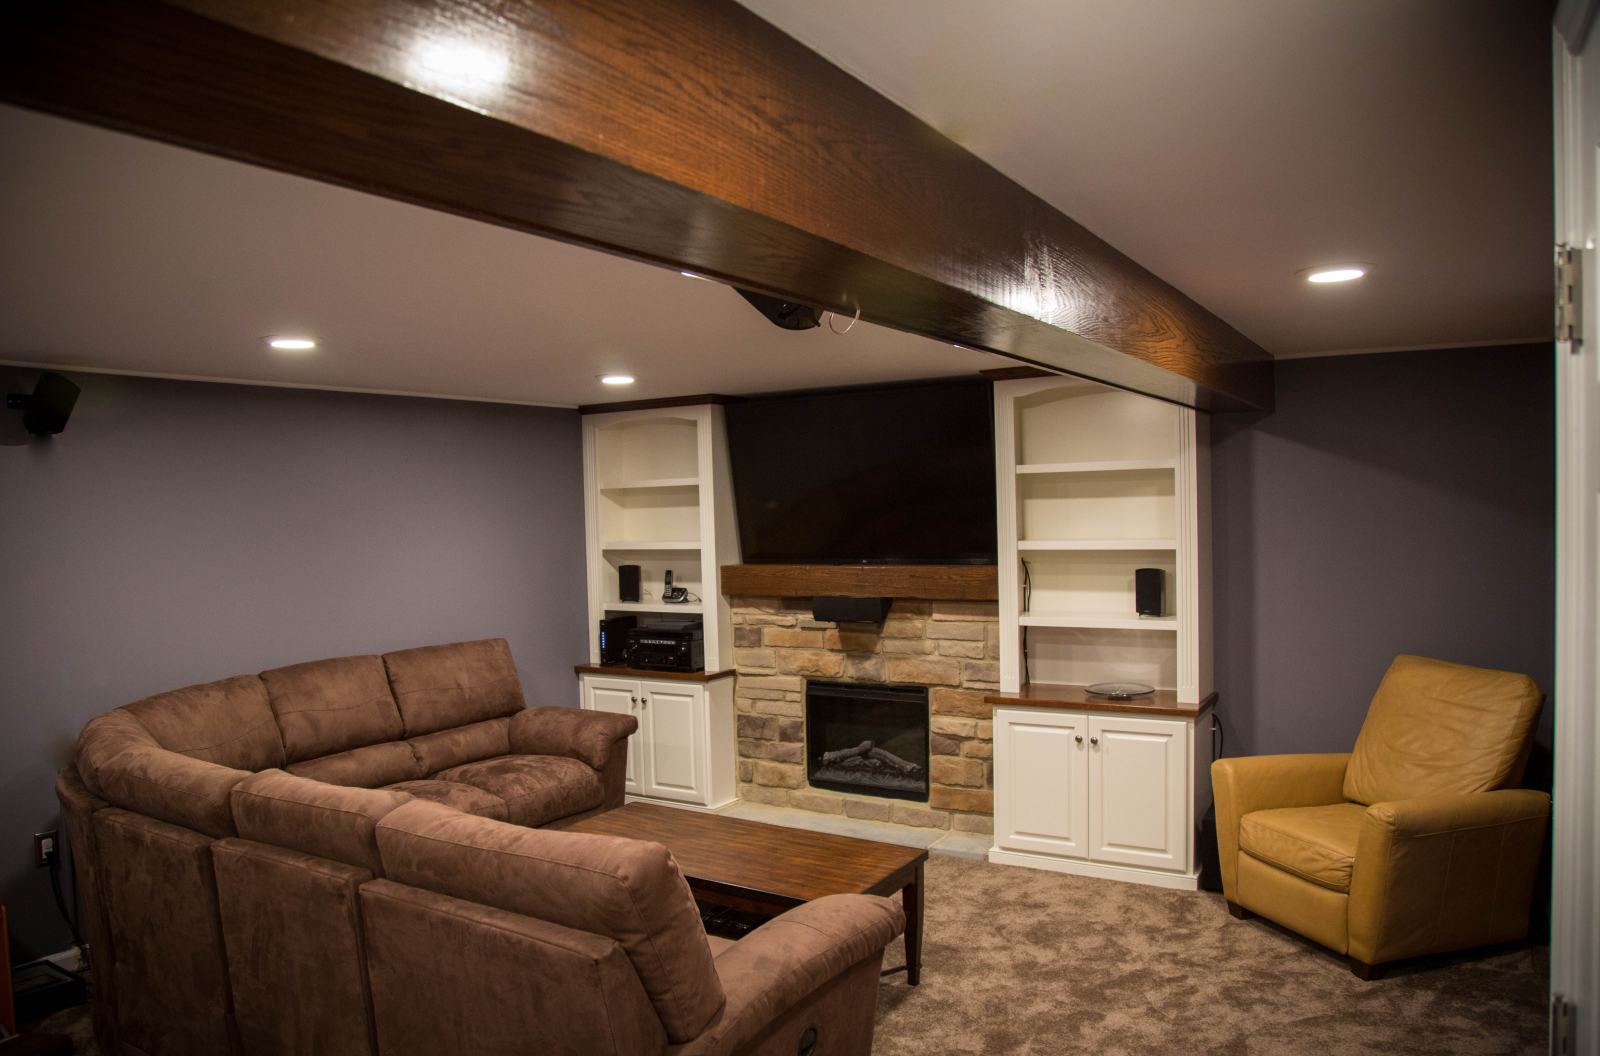
Once you’re done with all the aforementioned things, you could start placing different things in your basement. Now, the things you’ll add will, of course, depend on what you’re planning on using the area for. For instance, if you want to turn it into a laundry room. Don’t forget that you’ll need to put up some shelves where you can store things such as an iron and washing products. When you’re finished, you can finally relax and enjoy the remodeled place.
Conclusion
For most people, renovating their basement is a time-consuming and stressful process. But, if you choose to follow our step-by-step guide above, you won’t only make everything simpler, but you can ensure that you don’t forget doing some important tasks that could end up creating problems later on.
Since you now know what you’ll have to do in order to properly organize your basement renovation, you should contact your local government and apply for a building permit, if needed. Once you do, you can slowly start removing things from the area, and at the same time, you can brainstorm different remodeling ideas.

